3D Printer Assembly & CAD Design
Project Overview
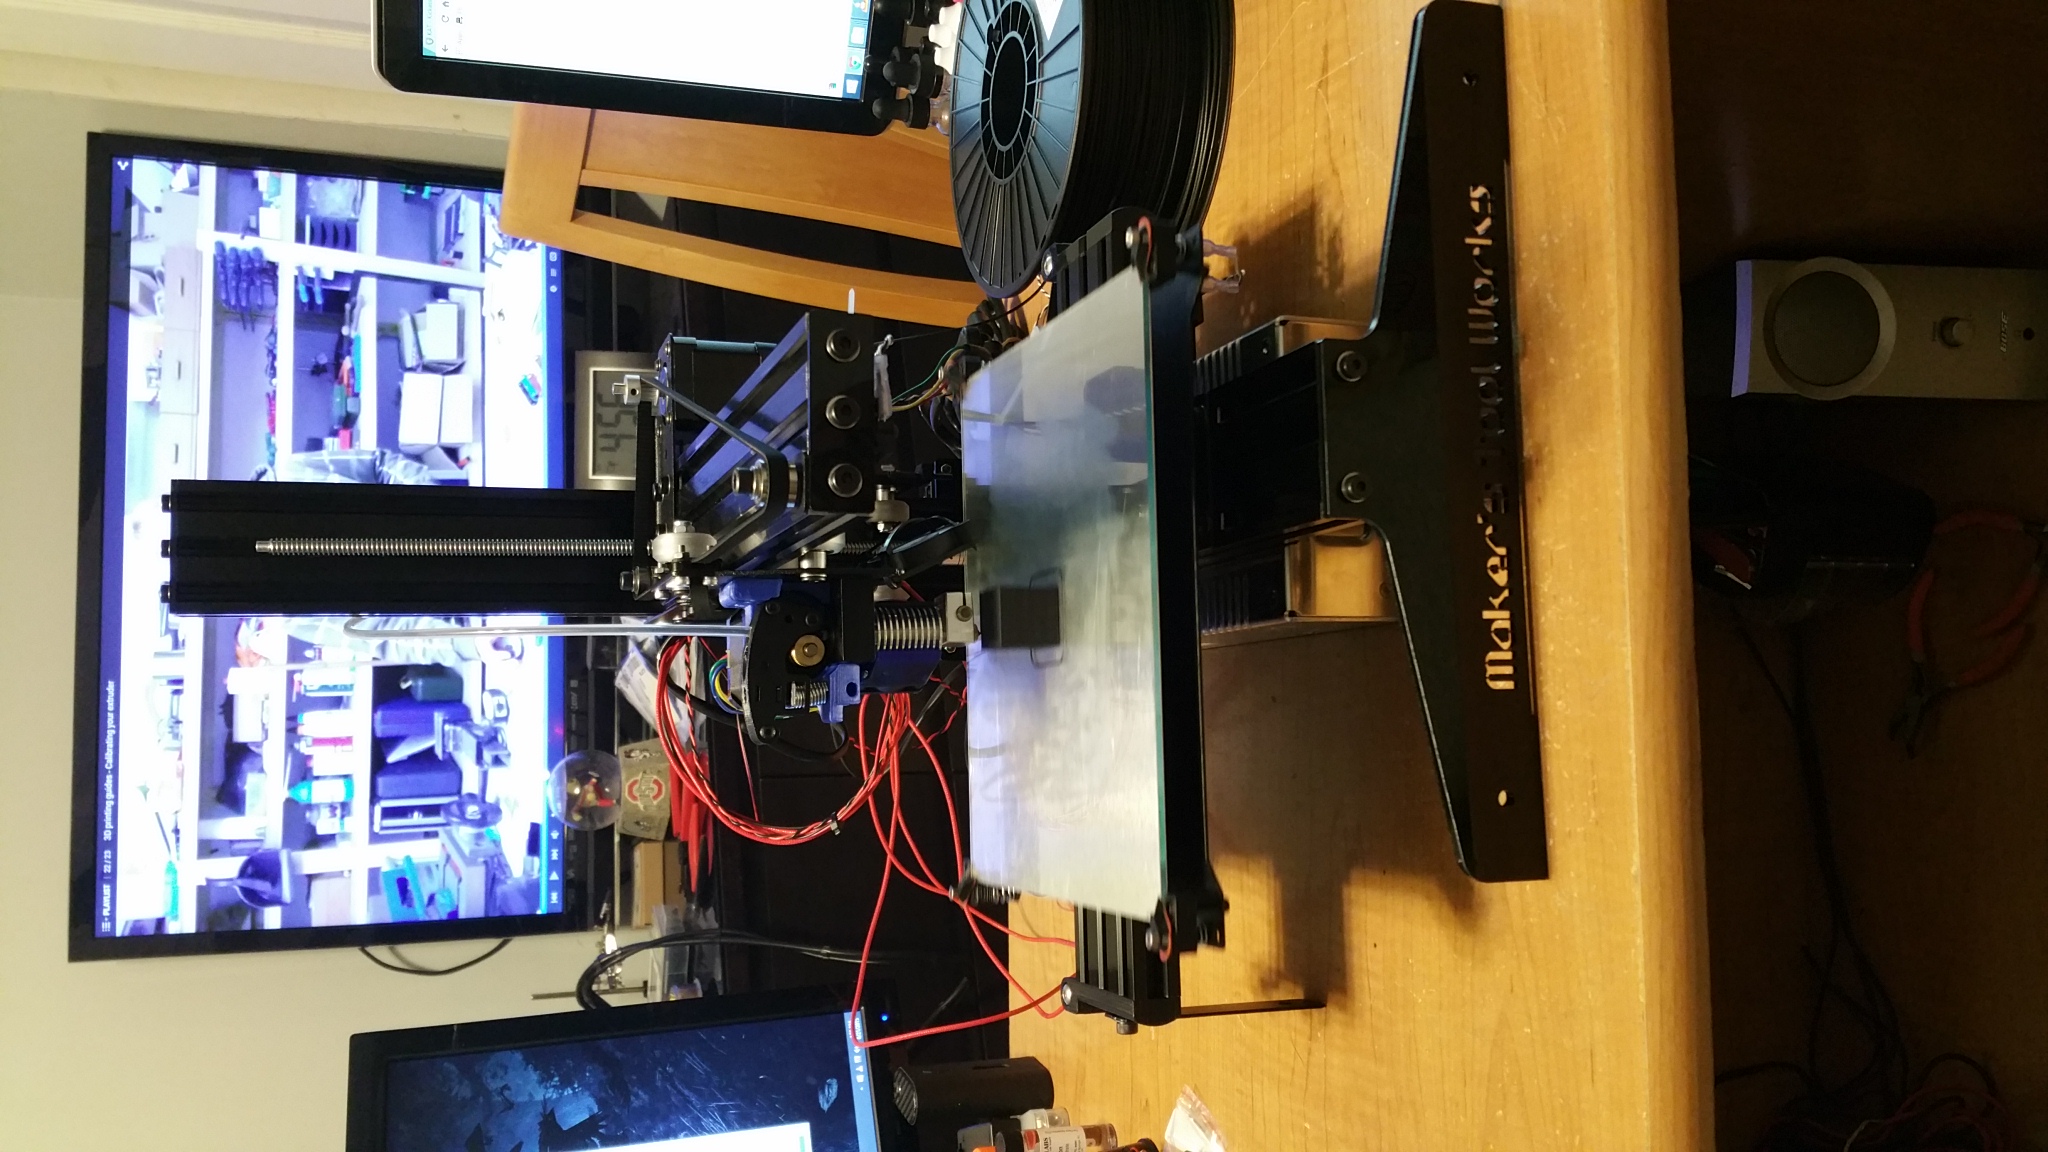
Assembled a MicroMax 3D printer kit from scratch, configured all firmware and slicing software, and used it to design and manufacture functional components for various projects. Added self-leveling capabilities and printed custom upgrades to improve printer performance. This project demonstrates mechanical assembly, CAD design proficiency, and practical manufacturing skills.
Printer Assembly & Build
Mechanical Assembly
- Assembled complete MicroMax 3D printer kit from individual components
- Installed and aligned linear rails and motion system for smooth movement
- Configured stepper motors and belt tensioning for precise positioning
- Built and wired heated print bed with thermal insulation
- Installed hotend assembly and cooling system
- Assembled frame with proper squareness and rigidity
Electronics & Wiring
- Wired all stepper motor drivers to control board
- Connected thermistors for hotend and bed temperature sensing
- Installed power supply and configured voltage regulation
- Set up endstop switches for homing and safety
- Implemented cable management for clean wire routing
- Added safety features including thermal runaway protection
Software Configuration
Firmware Setup
- Flashed and configured Marlin firmware on printer controller
- Calibrated stepper motor steps/mm for accurate dimensions
- Tuned PID control loops for stable temperature regulation
- Configured acceleration and jerk settings for quality prints
- Set up LCD interface for manual control and monitoring
- Implemented custom start and end G-code sequences
Slicing Software
- Installed and configured Cura slicer with custom profiles
- Created material-specific print profiles (PLA, PETG, TPU)
- Optimized layer height, speed, and temperature settings
- Configured support structures and infill patterns
- Set up quality presets for different use cases (draft, quality, fine)
- Integrated custom G-code for advanced features
Self-Leveling System
BLTouch Integration
- Installed BLTouch auto bed leveling sensor
- Updated firmware to support mesh bed leveling
- Configured probe offsets and Z-height calibration
- Created 9-point bed mesh for compensation
- Implemented automatic bed leveling before each print
- Significantly improved first layer adhesion and consistency
CAD Design & Functional Parts
Design Software Proficiency
- Created custom parts using Fusion 360 and Tinkercad
- Designed parametric models for easy modification
- Applied proper tolerances and clearances for functional fits
- Optimized designs for 3D printing (orientation, supports, bridging)
- Exported STL files with correct scale and orientation
Custom Component Examples
- Project Enclosures: Custom boxes for electronics projects with precise mounting holes and ventilation
- Quadcopter Parts: Camera mounts, battery trays, and antenna holders
- Rubik's Cube Robot: Gripper mechanisms and servo motor mounts
- Organizers: Tool holders, cable management clips, and storage solutions
- Replacement Parts: Custom brackets and adapters for various applications
- Prototypes: Rapid iteration of mechanical designs for testing and refinement
Printer Upgrades & Improvements
Self-Printed Enhancements
- Printed upgraded cooling duct for better part cooling
- Created custom spool holder with integrated filament guide
- Designed and printed cable chain for moving print head
- Manufactured adjustable Z-axis endstop mount
- Printed dampening feet to reduce vibration and noise
- Created tool holders and storage solutions for printer accessories
Performance Optimizations
- Tuned linear advance for better corners and overhangs
- Calibrated extrusion multiplier for dimensional accuracy
- Optimized retraction settings to eliminate stringing
- Fine-tuned temperature and cooling for various materials
- Implemented pressure advance for consistent extrusion
Technical Skills Demonstrated
- Mechanical Assembly: Precise alignment and adjustment of motion systems
- CAD Design: Creating functional, printable parts with proper tolerances
- Firmware Configuration: Understanding and modifying embedded printer software
- Process Optimization: Tuning parameters for quality and reliability
- Troubleshooting: Diagnosing and fixing print quality issues
- Manufacturing: Understanding of additive manufacturing constraints and best practices
- Iterative Design: Rapid prototyping and design refinement
Materials & Print Experience
- PLA: Standard prints, prototypes, and general components
- PETG: Functional parts requiring durability and temperature resistance
- TPU: Flexible components and shock-absorbing parts
- Successfully printed hundreds of components across multiple projects
- Developed expertise in material selection for specific applications
- Optimized print profiles for minimal failures and high success rate
Challenges & Solutions
Initial bed adhesion issues were resolved by installing the BLTouch auto-leveling system and fine-tuning the Z-offset. This eliminated the need for manual leveling before each print and dramatically improved first layer consistency across the entire bed surface.
Designing functional parts required understanding of 3D printing constraints including minimum wall thickness, bridging angles, and support requirements. I developed a systematic approach to orient parts optimally and add necessary chamfers and fillets to ensure reliable printing.
Achieving dimensional accuracy required extensive calibration including steps/mm verification, flow rate tuning, and temperature optimization for each material. I created detailed calibration procedures and documented optimal settings for repeatable results.
Results & Impact
Successfully built and optimized a reliable 3D printing platform that has manufactured hundreds of functional components for various projects. The printer has become an essential tool for rapid prototyping and custom part fabrication, enabling faster iteration and problem-solving across multiple engineering projects.
This project demonstrates practical manufacturing skills, CAD proficiency, and the ability to build and maintain complex mechanical systems. The combination of assembly, software configuration, and design work showcases a comprehensive understanding of additive manufacturing from concept to finished product.