2011 Camaro RS LS Swap Build
I've taken on an ambitious project: swapping a Chevy LQ4 6.0L V8 into my 2011 Camaro RS that came with a knocking motor. This isn't just a simple engine swap—it's a complete performance build targeting 600+ horsepower with a fully rebuilt top end and a heavy-duty transmission to handle the power.
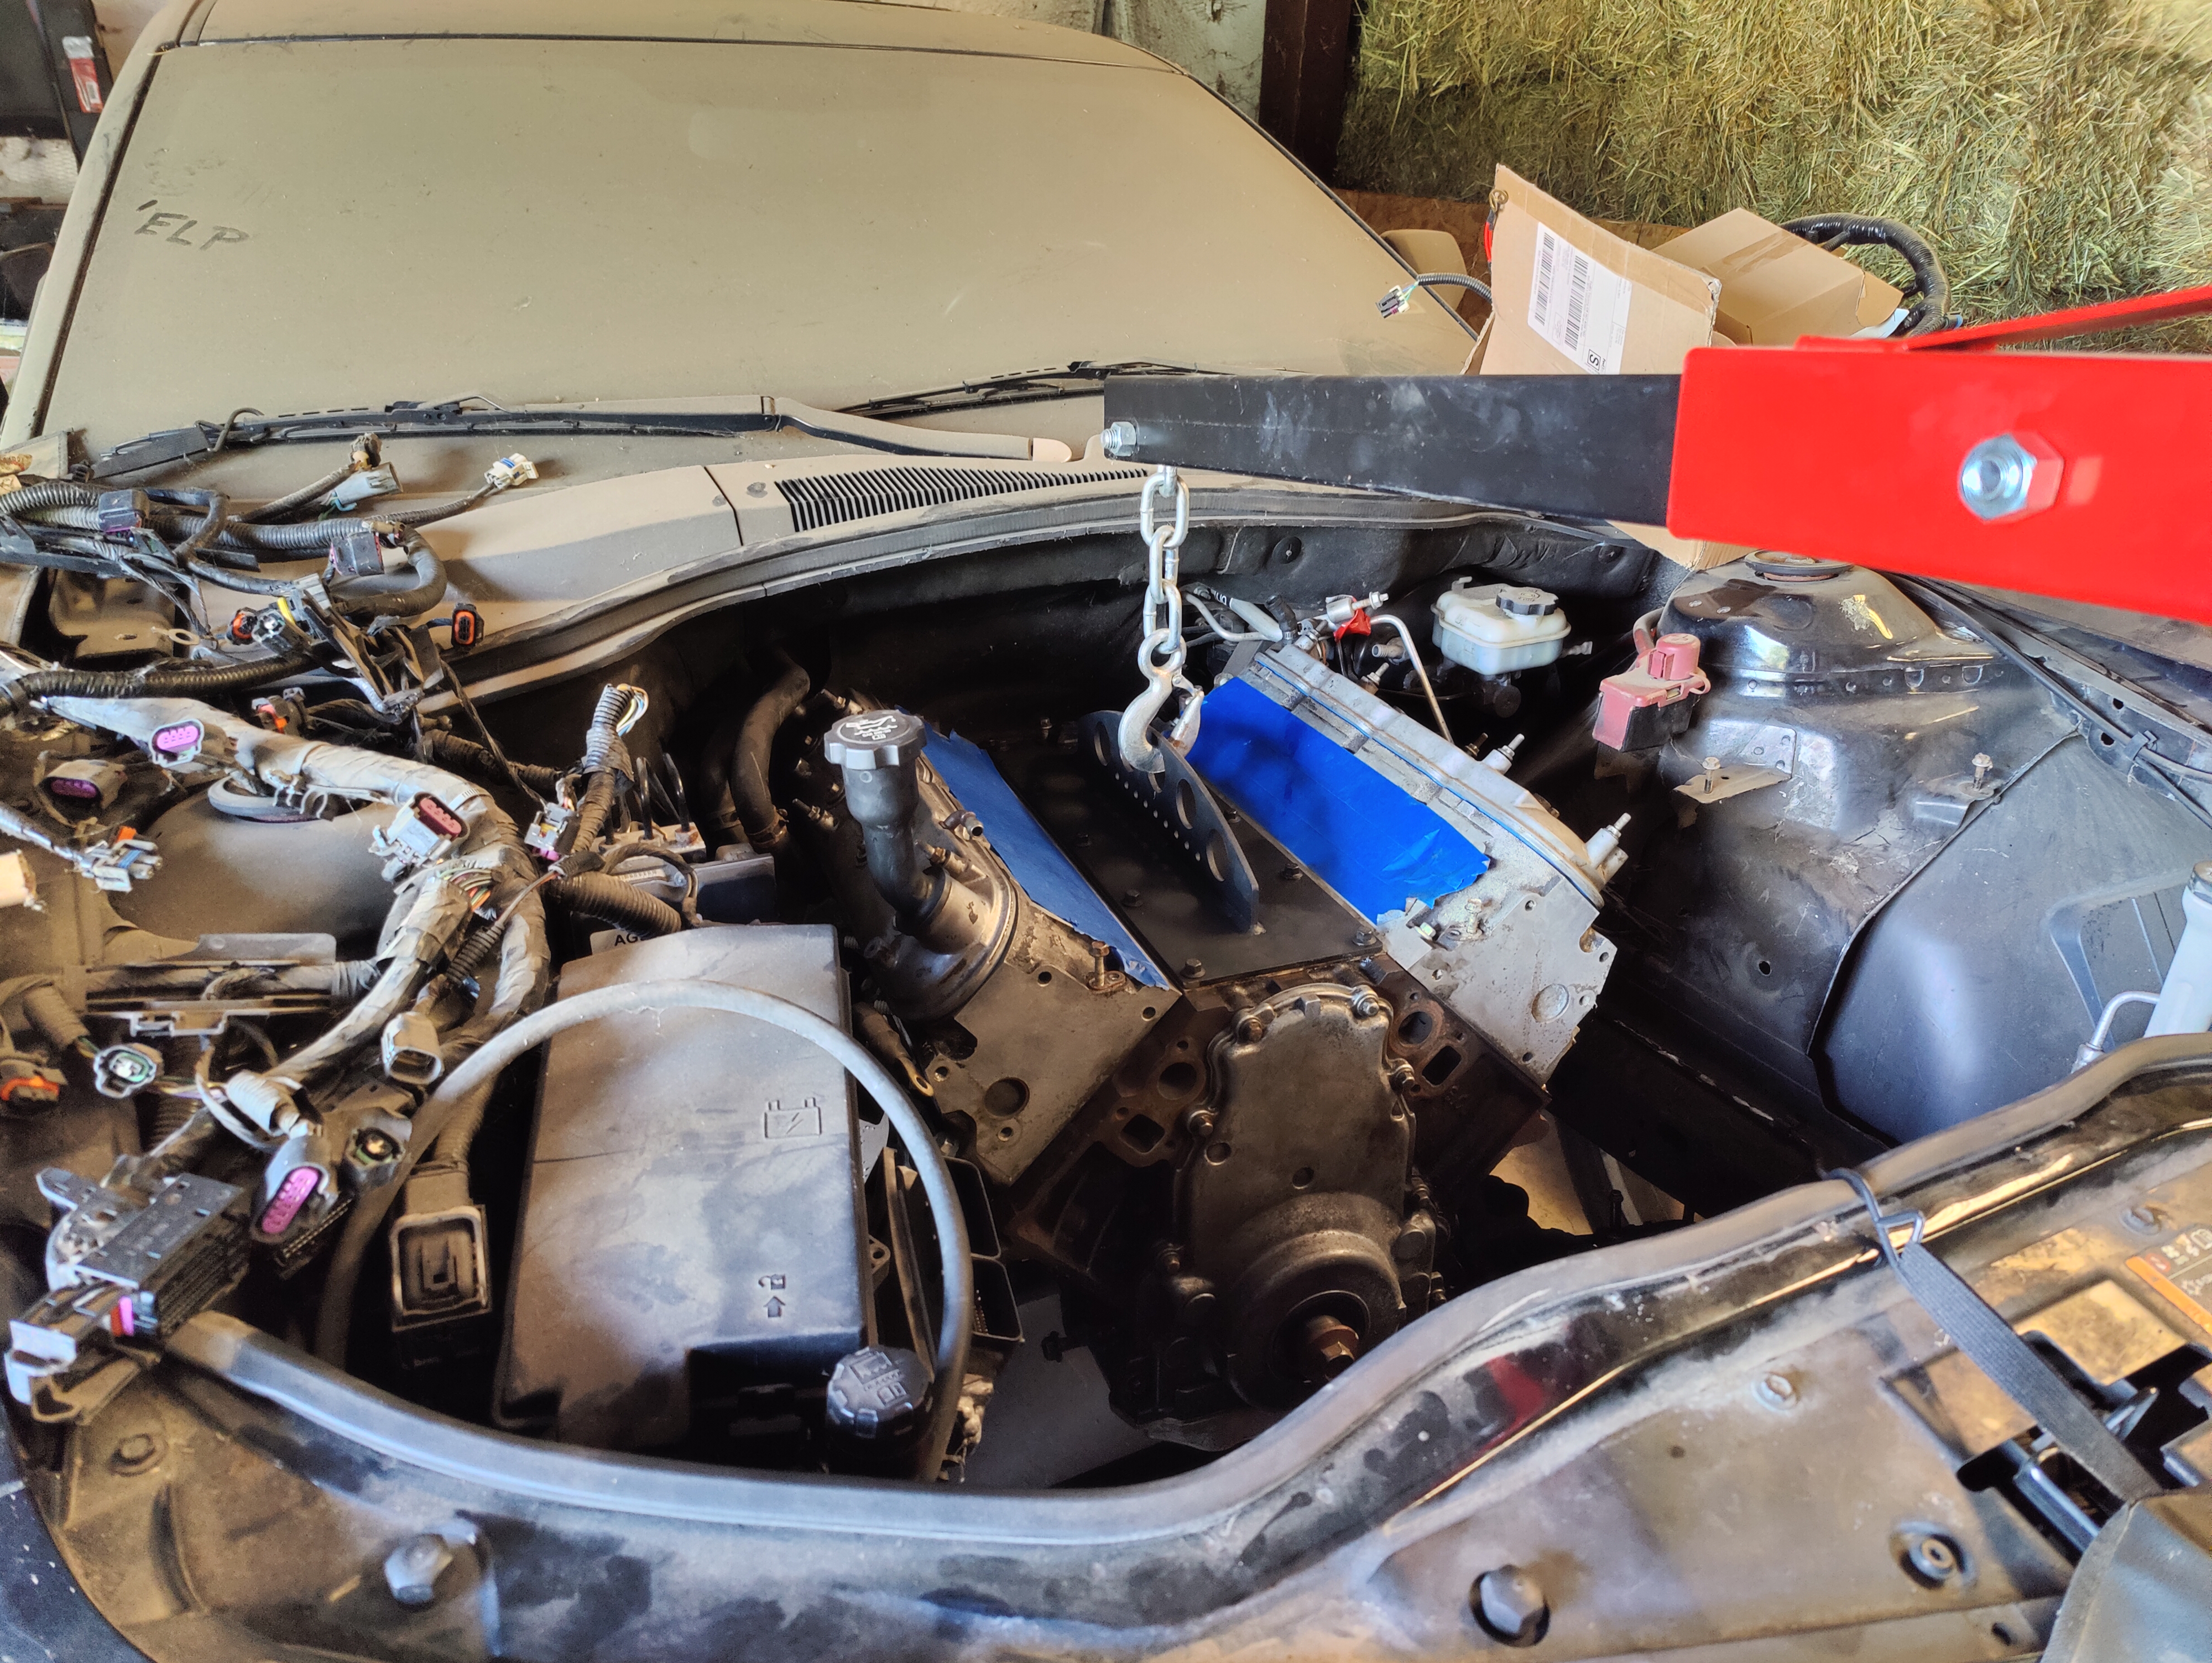
The Starting Point
The project started when I acquired a 2011 Camaro RS with a failed motor. Rather than source a replacement stock engine, I saw an opportunity to do something more interesting: an LS swap. I found a complete donor powertrain from a 2004 Chevy Silverado 2500 including the LQ4 6.0L iron-block V8 and 4L80E automatic transmission—both legendary for their strength and potential.
Engine Build - BTR Performance
The LQ4 block is solid, but to reach the power goals I completely rebuilt the top end with Brian Tooley Racing (BTR) components:
- BTR Performance Camshaft - Optimized grind for power and streetability
- BTR Lifters, Valve Springs, and Pushrods - All upgraded for higher lift and RPM
- New Head Gaskets - Multi-layer steel for reliability
- Trunnion Upgrade - Eliminates the weak factory rocker arm bearings
Transmission - 4L80E Stage 2
The 4L80E is being rebuilt with a Stage 2 package rated for 600+ HP. The major challenge here is converting the transmission from 4WD configuration (as it came from the Silverado) to 2WD for the Camaro. This involves output shaft modification, tailhousing changes, and ensuring proper torque converter selection.
The Fabrication Challenges
This isn't a bolt-in swap. The major fabrication work includes:
- Transmission Tunnel Modification - The 4L80E is larger than the factory transmission and requires custom metalwork to fit properly
- Wiring Integration - Adapting the stock Camaro wiring harness to communicate with the donor LQ4 engine computer, gauge cluster, and all sensors
- Fuel System - Integrating the stock Camaro fuel tank with upgraded pump to meet the flow demands of the 6.0L
- Cooling System - Upgrading the radiator and adding a transmission cooler for the increased heat load
Supporting Upgrades
To handle the increased power, the rear end received a complete upgrade with axles, bearings, and differential from a V8 Camaro. The exhaust system will feature long tube headers and a custom-built exhaust. Once running, the engine will receive professional dyno tuning for optimal performance.
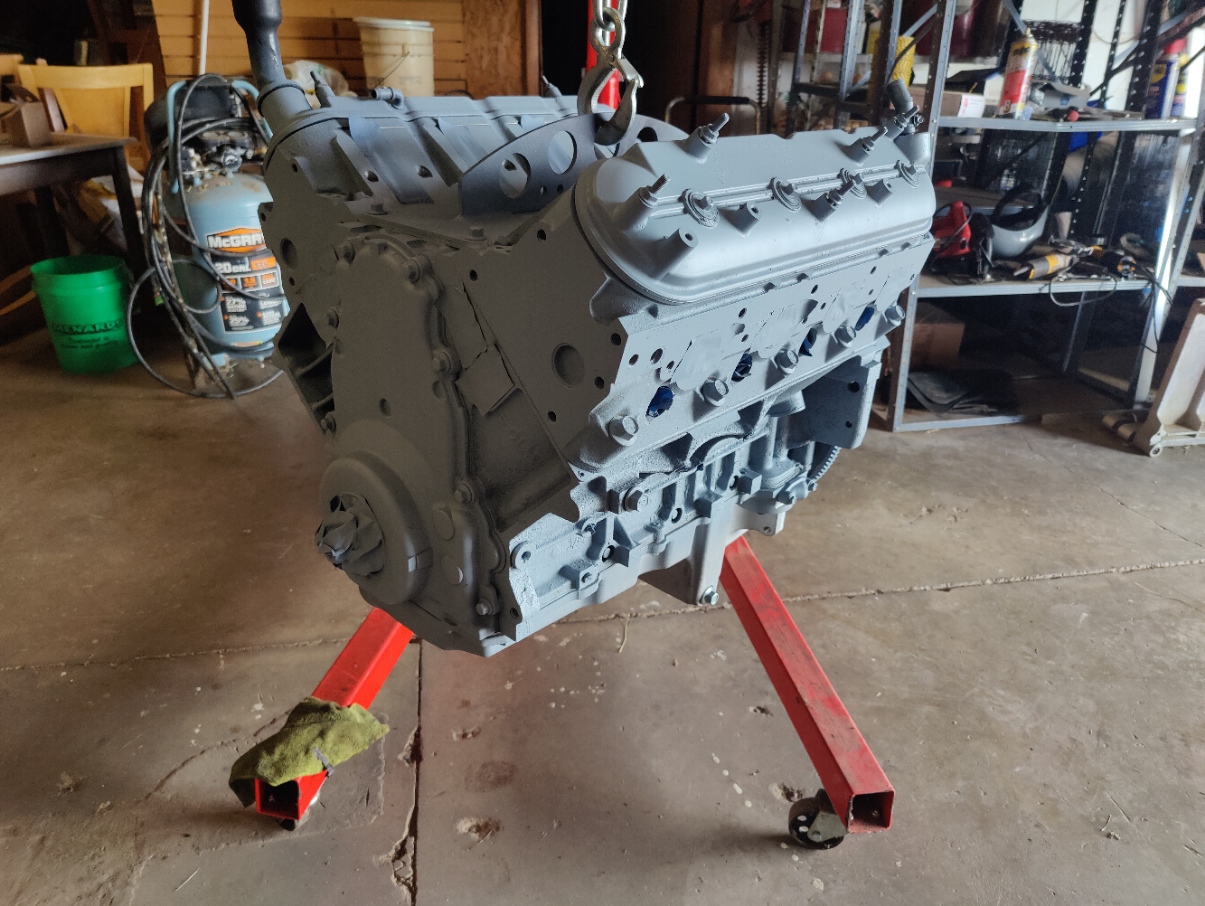
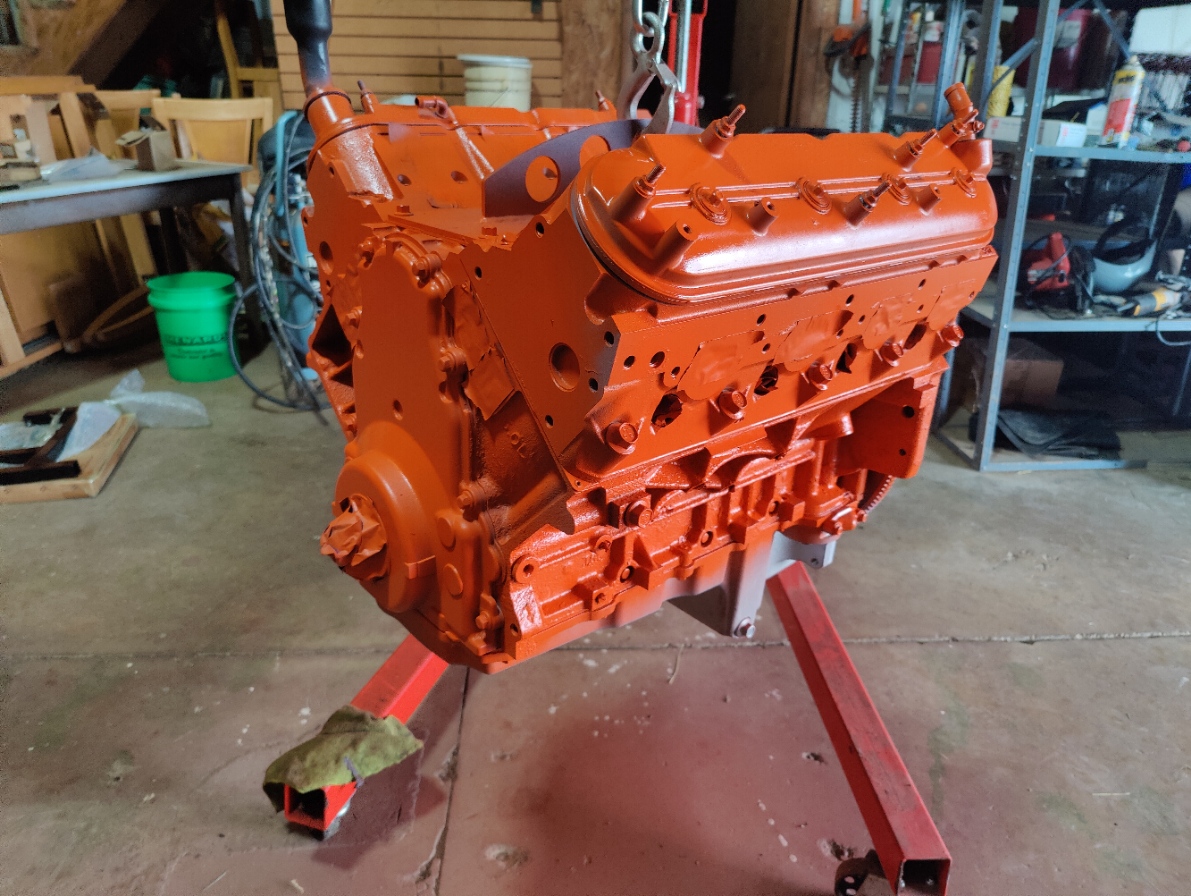
Engine Paint & Preparation
Before final assembly, I took the time to properly paint the LQ4 engine block. Starting with a thorough cleaning and degreasing, I applied high-temperature engine primer followed by Chevrolet orange engine enamel. This not only gives the engine a clean, professional appearance but also protects the block from corrosion and makes it easier to spot any future leaks.
Current Status
The build is progressing well. The engine has been fully rebuilt with the BTR components and freshly painted, and the transmission is being prepared with the Stage 2 package. Current focus is on the fabrication work—tunnel modification, wiring harness integration, and exhaust fitment. Follow along as I document the entire process from teardown to first startup!
For the full technical breakdown of this build, check out the detailed project page. Stay tuned for regular updates, and don't forget to subscribe to my newsletter to get build updates delivered to your inbox.